
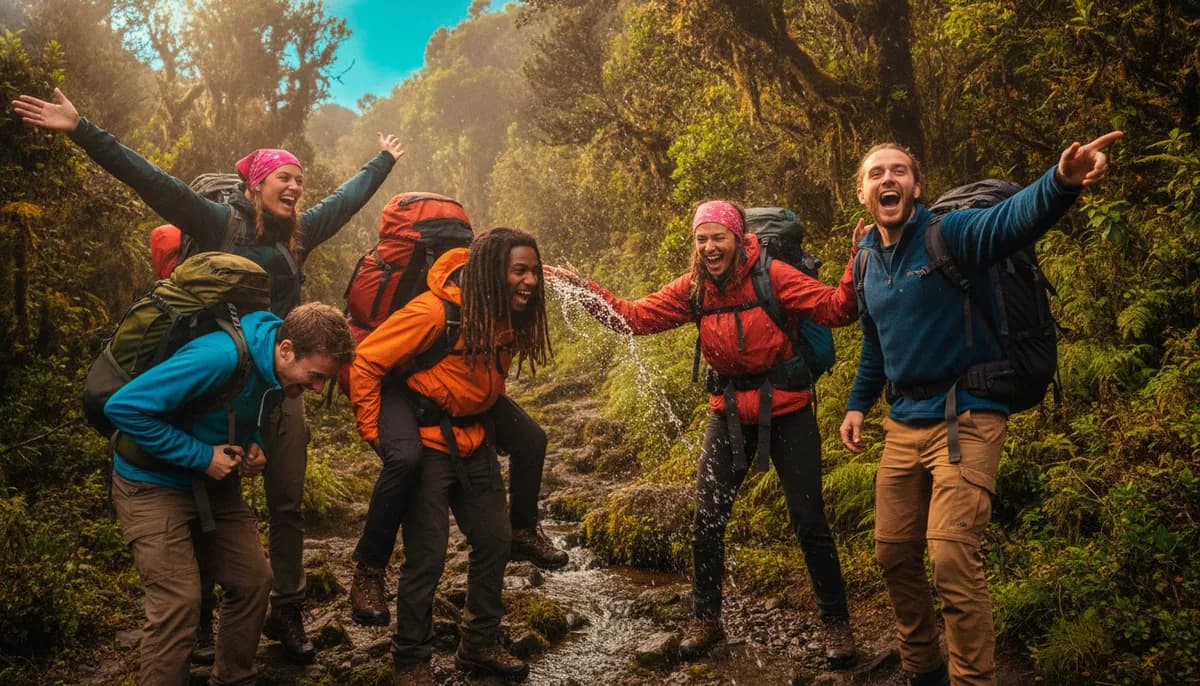
Kilimanjaro Lemosho Route: Self-Launched 10-Day Independent Ascent
10 days · Tanzania
Much Better Adventures charges £2,450
No-markup version: ~£1,520 per person
Estimate only, not a guaranteed price. Always verify costs independently before booking.
A self-launched version of the classic 10-day Lemosho Route climb to Uhuru Peak (5,895m) — the Roof of Africa. The key money-saver: in Kilimanjaro National Park you cannot trek solo, but you CAN book directly with a licensed Tanzanian operator (rather than a Western reseller) and join a small group departure or private climb at local rates. That direct booking covers the official park fees, the mandatory certified guide, assistant guides, cook and porters, camping permits, all meals on the mountain, and Moshi hotel nights. In exchange you handle your own airport transfer (£15-25), organise a shared group or negotiate a direct price, and arrange your own pre-climb acclimatisation days. Budget 8 days on the mountain for the best altitude acclimatisation and summit success rate, with a night in Moshi either side.
Day-by-day
Arrive Kilimanjaro Airport (JRO) & transfer to Moshi
Moshi
Land at Kilimanjaro International and take a pre-arranged shared shuttle or private taxi straight to Moshi (£15-25, ~1hr). Check into a budget guesthouse or hostel near the town centre and spend the afternoon buying or renting gear — Moshi has excellent kit rental shops where you can hire gaiters, trekking poles, a down jacket, sleeping bag and duffel for around £40-50 for the whole trip (far cheaper than buying). Meet your guide for a briefing and equipment check, and eat a big carb-heavy dinner. Sleep low, drink water and get an early night.
🚌Shared shuttle/private taxi from JRO to Moshi ~£15-25
🛏Budget guesthouse in Moshi, private room (£15-22)
- →Gear rental shopping in Moshi
- →Pre-climb briefing with your guide
- →Hotel equipment check
Drive to Lemosho Gate & trek to Big Tree Camp (2,780m)
Lemosho Gate / Big Tree Camp
A 2-3hr scenic drive through mountain villages to Lemosho Gate, where your guide completes permit formalities (all park fees are paid by your operator as part of the package). Begin hiking through pine and lush rainforest — the trail is often muddy and slippery at this elevation, so gaiters and poles earn their keep. Keep your eyes peeled for colobus monkeys, buffalo and elephant. Reach Big Tree Camp mid-afternoon; your crew has camp set up and hot food ready. Three to four hours walking, ~400m ascent.
🚌Operator 4x4 transfer to Lemosho Gate (included in climb package)
🛏Camping — twin tent, all meals provided by your crew
- →Rainforest trek to Big Tree Camp
- →Wildlife spotting (colobus, buffalo)
- →First night on the mountain
Onto the Shira Plateau to Shira Camp 1 (3,500m)
Shira Camp 1
Leave the rainforest behind and climb onto the Shira Plateau, a rugged moorland environment above 3,000m with big views back to Mount Meru. Roughly 4-6hrs and 5mi of walking with about 720m of ascent — go 'pole pole' (slowly, slowly) and let your guide set the pace. Good chances of spotting birds of prey and the odd eland. Arrive at camp in the mid-afternoon and rest before what is often a spectacular sunset across the plateau.
🚌On foot
🛏Camping — twin tent, all meals provided
- →Trek through moorland onto the Shira Plateau
- →Bird of prey spotting
- →Sunset over the plateau
Cross the Shira Plateau to Shira Camp 2 (3,900m)
Shira Camp 2
A deliberately gentler day — a shorter 4mi walk across the plateau toward Camp 2, designed to let your body adjust to the altitude you've gained. Arrive in camp by early afternoon, then take the standard acclimatisation walk up toward Moir Hut (4,200m) before returning to sleep lower. This 'climb high, sleep low' routine is exactly what makes the 8-day Lemosho route so successful at summiting.
🚌On foot
🛏Camping — twin tent, all meals provided
- →Gentle plateau trek
- →Afternoon acclimatisation walk toward Moir Hut
- →Altitude rest day
Lava Tower (4,630m) then descend to Barranco Camp (3,950m)
Lava Tower / Barranco Camp
The big acclimatisation day: traverse the western slopes of Kibo to where the Lemosho and Machame routes merge, then climb to Lava Tower, a volcanic outcrop formed around 150,000 years ago. Stop for lunch at its base — this is your highest sleeping-point-precursor of the trek so far. Then descend steeply through moorland dotted with giant senecio trees to Barranco Camp. Roughly 6mi with 470m up and 690m down across 4-6hrs.
🚌On foot
🛏Camping — twin tent, all meals provided
- →Climb to Lava Tower (4,630m)
- →Lunch at the base of Lava Tower
- →Descent through giant senecio forest
The Barranco Wall to Karanga Camp (3,995m)
Barranco Wall / Karanga Camp
The famous Barranco Wall: a steep scramble up a rock face that looks far more daunting than it is — slow, deliberate steps and hands-on rock are all that's needed, and most hikers find it easier than expected. At the top, look out over the Heim Glacier. Then wind up and down the Karanga Valley to Karanga Camp (about 3mi, 385m up, 300m down, 4-5hrs). A shorter day that's all about acclimatisation before the high camps.
🚌On foot
🛏Camping — twin tent, all meals provided
- →Scramble the Barranco Wall
- →Heim Glacier viewpoint
- →Trek through Karanga Valley
Karanga to Barafu Camp (4,673m) — summit base
Barafu Camp
A short but steep 2mi climb through ever-thinning air to Barafu Camp ('ice' in Swahili), perched on a rocky, exposed ridge — your final stop before the summit. Arrive by early afternoon, sort your summit kit (headlamp, layers, water, snacks), eat an early dinner around 5pm and sleep as much as nerves allow. Summit night starts around 11pm-1am.
🚌On foot
🛏Camping — twin tent, all meals provided
- →Steep climb to Barafu Camp
- →Summit kit preparation
- →Early dinner and rest
Summit day — Uhuru Peak (5,895m) then descend to Millennium Camp
Stella Point / Uhuru Peak / Millennium Camp
The toughest stretch of the trip, starting in the middle of the night with headlamps lighting the way up rocky scree to Stella Point (5,755m) on the crater rim — roughly 6-8hrs of slow climbing in the cold. Push on to Uhuru Peak (5,895m), the highest point in Africa. Take photos, breathe, then begin the long descent over dusty volcanic terrain to Millennium Camp (3,800m). Total around 11-13hrs, 8mi, 1,255m up and 2,100m down. Hydrate constantly and tell your guide immediately if you feel unwell — altitude sickness is the real challenge here, not the terrain.
🚌On foot
🛏Camping — twin tent, all meals provided
- →Midnight summit ascent to Stella Point
- →Uhuru Peak (5,895m) summit
- →Long descent to Millennium Camp
Descend to Mweka Gate & celebrate in Moshi
Mweka Gate / Moshi
Continue down to Mweka Park Gate through forest (6-7hrs, 8mi, descending 2,160m) — warmer, wetter and muddier, so keep gaiters and poles handy. Watch for black-and-white colobus monkeys in the canopy. Collect your summit certificate at the gate, then transfer back to Moshi for a hot shower and a real bed. This is the day for the tipping ceremony with your crew: budget roughly £250-300 per person, split appropriately between guide, assistant guides, cook and porters (this is deeply ingrained local custom and a significant part of crew income — check current KPAP guidance for fair distribution).
🚌Operator transfer from Mweka Gate to Moshi (included)
🛏Budget guesthouse in Moshi, private room (£15-22)
- →Forest descent to Mweka Gate
- →Summit certificate collection
- →Tipping ceremony with crew
- →Celebration dinner in Moshi
Depart — or keep going in Tanzania
Moshi / Kilimanjaro Airport
Relaxed breakfast, then a shared shuttle or taxi back to Kilimanjaro International (~£15-25, 1hr). If you have time and budget, the classic add-ons are a few days of Zanzibar beaches (fast ferry or short flight from Dar es Salaam) or a safari in Ngorongoro/Serengeti. Note that all Tanzanian airlines currently sit on the UK Air Safety List, so for onward internal flights consider routing via a non-listed carrier or overland.
🚌Shared shuttle/private taxi Moshi to JRO ~£15-25
🛏—
- →Optional onward travel to Zanzibar or safari
Self-launched vs. Much Better Adventures
| This itinerary (self-launched) | Much Better Adventures | |
|---|---|---|
| Price per person | ~£1,520 | £2,450 |
| Duration | 10 days | 10 days |
| Who books it | You and your group, direct | Tour operator, guided group |
| Savings | £930 per person (38%) | |
Estimate only, not a guaranteed price. Always verify costs independently before booking.
Want to see more Much Better Adventures-style trips? Check them out here.~£1,520
estimated per person
You never pay Travel Crew for this — you pay hostels, transport, and activity providers directly, the same as if you'd booked it all yourself.
This publishes your dates so other travellers can find and join you — no tour operator needed.
Customise with Tour BusterCreated by

Travel Crew
0 trips
Frequently asked questions
How much does Kilimanjaro Lemosho Route: Self-Launched 10-Day Independent Ascent cost?+
Doing it yourself with this self-launched itinerary costs an estimated £1,520 per person for 10 days in Tanzania. This is an AI-generated estimate based on typical budget-traveller prices — actual costs will vary by season and how you book.
Is this cheaper than booking with Much Better Adventures?+
Yes — Much Better Adventures charges around £2,450 per person for a similar tour. Doing the same route independently, using the same standard of accommodation and activities, costs an estimated £1,520 — a saving of roughly £930 (38%) per person.
How long is the Tanzania trip?+
This itinerary runs 10 days, covering 10 day-by-day stops through Tanzania.
How do I join this trip?+
You can join an existing open departure using this itinerary if one is scheduled, or launch your own departure with your own dates and invite other travellers to join you — no tour operator required.
Isn't it easier to just use a tour operator?+
Well, yes, a tour operator will book all the individual parts of your travel for you and provide a guide. That's obvious, but doing this has the potential to save the group thousands, which can in turn improve your itinerary substantially or save you huge amounts of money. Also, when you launch a departure, Travel Crew has tools in place to help you book the individual sections of the trip or make it easier for you to do this as a group. Really, you do not need a middle man. If you are more comfortable paying more and using a middle man, then you should certainly do this.
Is it safer to book through a tour operator?+
Arguably, there isn't much difference. A self-launched trip runs on the same principle as a group travel crew: collective responsibility, everyone looking out for each other, the same way it would if a group of friends organised the trip themselves — because that's exactly what's happening. You should always take out travel insurance before you go, self-launched or not; that doesn't change either way. Every open departure is published publicly with real dates and a real trip organiser, so it's never an anonymous arrangement, and our support team is reachable any time you need help, including in an emergency while you're away. Longer-term, we're building direct relationships with ground DMCs in popular destinations, offered as an optional paid add-on for extra on-the-ground support. Ultimately, though, the group is responsible for its own conduct and safety on a self-launched trip, same as on any trip you plan yourself.
What kind of trip is this?+
This is a adventure, hiking, gap-year trip through Tanzania, self-launched rather than run by a tour operator — you organise it with a group you find or bring yourself.
Would you like to name the operator, name the trip, or have any suggestions about how to improve this itinerary?
Drop your comment below — if you've done a similar route, tell us what worked, what you'd add, or what you'd skip.
No comments yet — be the first to share your take.
Sign in to leave a comment.